If you’ve been searching for a way to relieve tension from your body, then you need to know about the magic of massage guns! From sore muscles after a workout, pain relief following an injury or just relaxation in general, this multi-use tool is perfect for any situation. In this blog post, we’ll show you how to use a massage gun and provide some tips along the way.
How To Use a Massage Gun
If you’ve been searching for a way to relieve tension from your body, then you need to know about the magic of massage guns! From sore muscles after a workout, pain relief following an injury or just relaxation in general, this multi-use tool is perfect for any situation.
The following steps should be followed while using a massage gun:
- Turn on the Power of the Massage Gun
- Hold the Massage Gun Perpendicular to your Skin
- Adjust the Speed of the Massage Gun
- Roll the Massage Gun Over the Body Part
- Movement Speed
- Apply Targeted Pressure
Below, we discuss each of the above steps in detail:
Turn on the Power of the Massage Gun
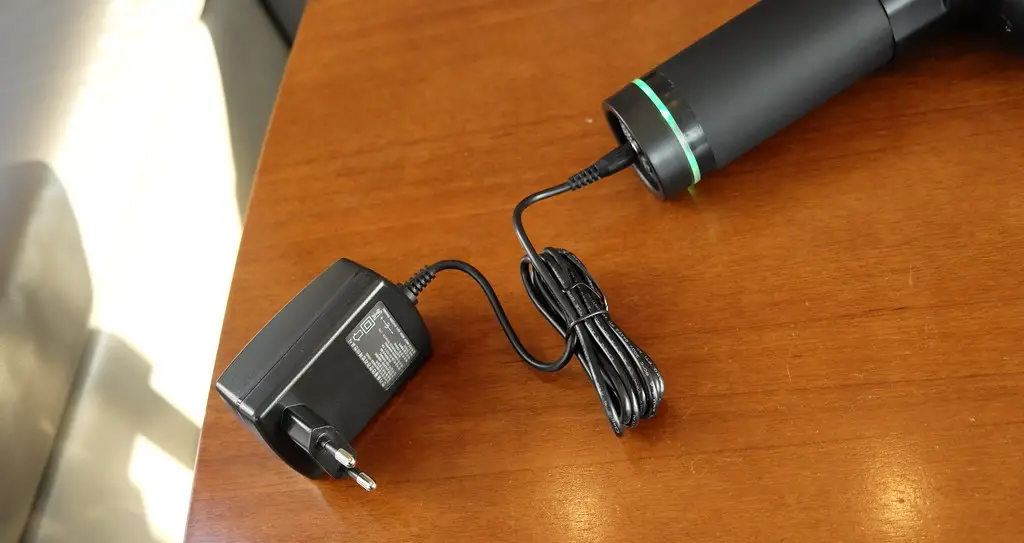
If the massage gun has to be plugged in, make sure the cord is placed comfortably so as to avoid entangling during the massage. If the gun is battery operated, make sure that the device is sufficiently charged before you turn it on.
Hold the Massage Gun Perpendicular to your Skin
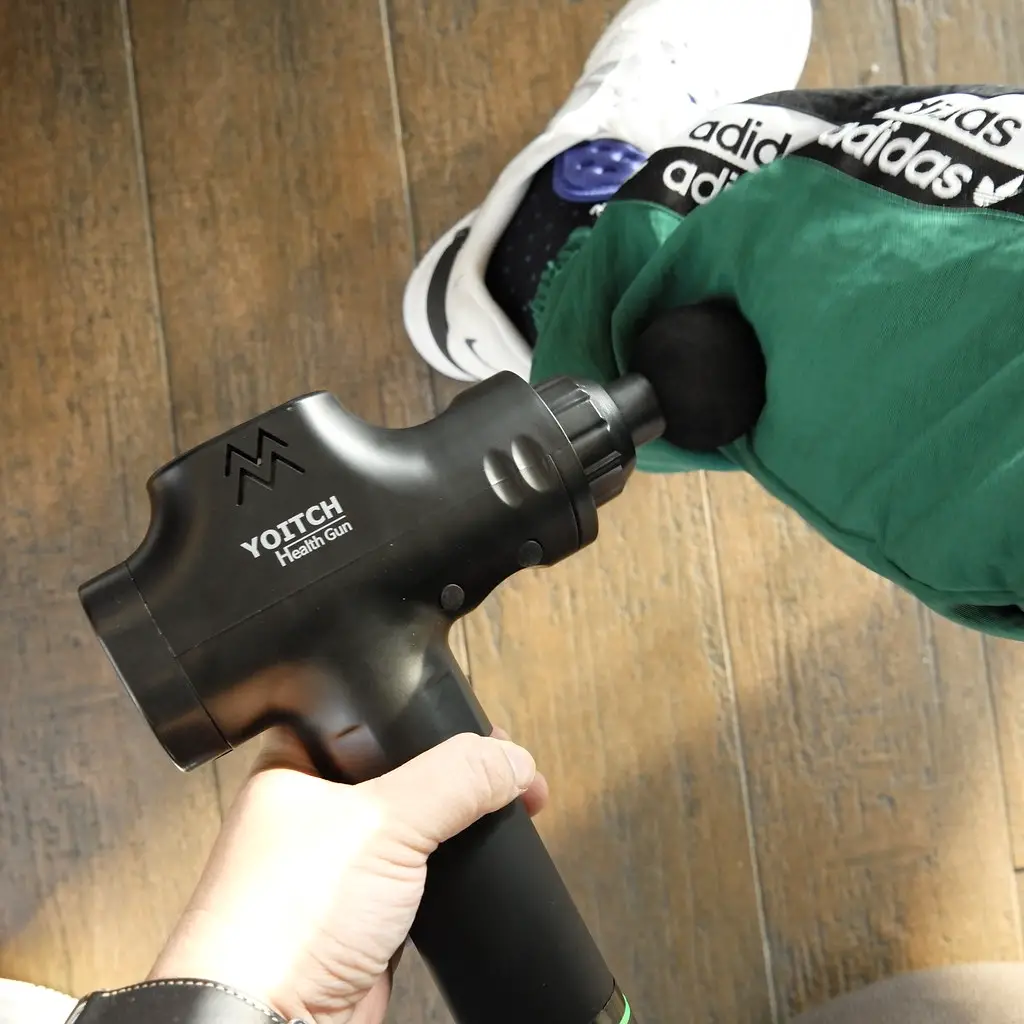
Start by holding the gun perpendicular to your skin, with the head of the device facing down and away from you. This is so that it can easily reach all parts of your body without any extra arm movement on your part.
Adjust the Speed of the Massage Gun
Always start at lower speeds when using a massage gun for the first time.
Roll the Massage Gun Over the Body Part
Next, simply pull back and press forward (like a rolling pin) in order to roll up and down the length of your body. This will help to release any tension in that area.
Movement Speed
Keep your movements slow and steady to avoid any discomfort or pain.
Apply Targeted Pressure
You can also use the device for targeted pressure: Hold it perpendicular to skin with a gentle grip and move up and down, alternating between strokes on either side of an injury or painful muscle.
Use it on both hard, tense muscles as well as softer tissues like joints and ligaments. This will help you target more areas of your body at once!
Massage Gun Techniques: Relieve Neck Pain, Shoulder Pain and Back Pain
Below, we discuss some of the most common ailments that a massage gun can help relieve.
Neck Pain
Massage guns are often used to provide relief for neck pain and headaches caused by sinus pressure or migraines. To alleviate these symptoms, find a comfortable position with your head tilted back (as if looking up at the sky).
Sit in a comfortable chair with your back against the seat and elbows resting on armrests. Place one hand over the other, palm up, with fingers pointing down towards the ground or floor. Using gentle pressure from your hands as well as light to moderate finger movements, move them side-to-side across the top of your head, from forehead to crown.
Shoulder Pain
If you’re experiencing pain in your shoulders, try starting with a low-level massage gun setting and rolling the device down each arm (starting at the shoulder and moving towards the hand). This will help release any tension or discomfort along that area.
Back Pain
Massage guns are often used to provide relief for back pain caused by muscle tension, injury or an illness such as arthritis.
To relieve this discomfort, lie on your stomach and place the gun perpendicular to the spine with its head facing down. Roll it along your backbone from shoulder blades up towards your neck. You may also want to use a lower setting for this action.
There’s a lot more to learn about the benefits of massage guns, but hopefully, these tips were helpful in getting you started!


This site was… how do you say it? Relevant!!
Finally I’ve found something which helped me.
Thanks!
I don’t even know how I ended up here, but I thought this post was good.
I do not know who you are but definitely you’re going to
a famous blogger if you are not already 😉
Cheers!